Welcome!

The adventures of the vessel "The Hard Six" and the man owned by her!

Sunday, January 1, 2017

The Dreaded Dashboard project

When you own an older boat, you know that some things are going to have to eventually be replaced. Many of us hope that we can drag our feet forever on those projects. My dashboard was one of those projects. After all, you can't just trundle down the the local West Marine and pick up a dash for a 30 year old boat. I knew there were things I wanted... like a new GPS I could actually reach without standing up from the helm seat. I chose a Simrad Go7XSE. I was amazed at the capabilities of this unit for the price and it was just the right fit for the space I had to work with.

The old dash was made of plastic that had warped and deformed over the many, many, years of the sun beating on it. It wasn't watertight anymore, and the plastic was so old that it was starting to crumble if I even looked at it crossways.

Don't believe me? I'm pretty sure this was supposed to be a straight line in 1986:


So I set to taking the old dash out, labeling everything as I went as best as I could. There was plenty of "wires to nowhere" thought to keep it interesting. In 90 minutes it looked like the boat had a wiring explosion...


I set to designing the dashboard and gauge and switch panels. Cardboard and blue tape is cheap, and very forgiving. It also makes good templates when it comes time to move to marine plywood:


Now it was time for the implements of destruction..


What seemed like forever later....


So I set to designing the panels... I work in IT, so I am comfortable in Visio... so that's what I used. After many hours of messing about, I came up with this:


The switch and gauge panels I ordered from New Wire Marine arrived and another test... Things were starting to look like an actual dashboard!


Ok, lets get messy... time to encapsulate in epoxy and test fit...


All and all, I couldn't really complain about the fit... this was after what seemed like 1000 hours of sanding and shaping:


After much thought and research, I decided on using Awlgrip to paint the project. A few words about Awlgrip... On the can it says "professional use only". Be advised... they are not kidding. You can roll and tip Awlgrip, but the learning curve in using it is like a hockey stick. It is as much a chemistry experiment as it is a paint. It's expensive, and unforgiving. If you set out to use it, plan on screwing up a bunch if it is your first time around with it. You have to use ONLY Awlgrip products and there are no shortcuts.

First, prime... and sand... and prime... and fill.. and prime some more:


I thought I would never get the primer right, and the surfaces fair. But after much perseverance, a fair amount of sweat and even more profanity, it was time to top coat... 4 of them. I was really amazed at how well Awlgrip laid down after I got the hang of it and I was really happy with the finish, especially considering I had never tried a project like this before and it was a one off, one of a kind, scratch built item.


Now the scary part... it's time to install and wire everything up and try not to blow up anything in the process. The old wiring was pretty rough


But with some encouragement from a mechanic friend and a few extra pieces parts I didn't have, I managed this:


An entire tube of 3M 4200 and some brackets, and the new dash was in. I connected up the switches and gauges and holy cow... it all worked...


A few odds and ends like the trim tabs being sorted out, and a minor issue with using LED bulbs in my running lights and The Hard Six went from this:


To This:


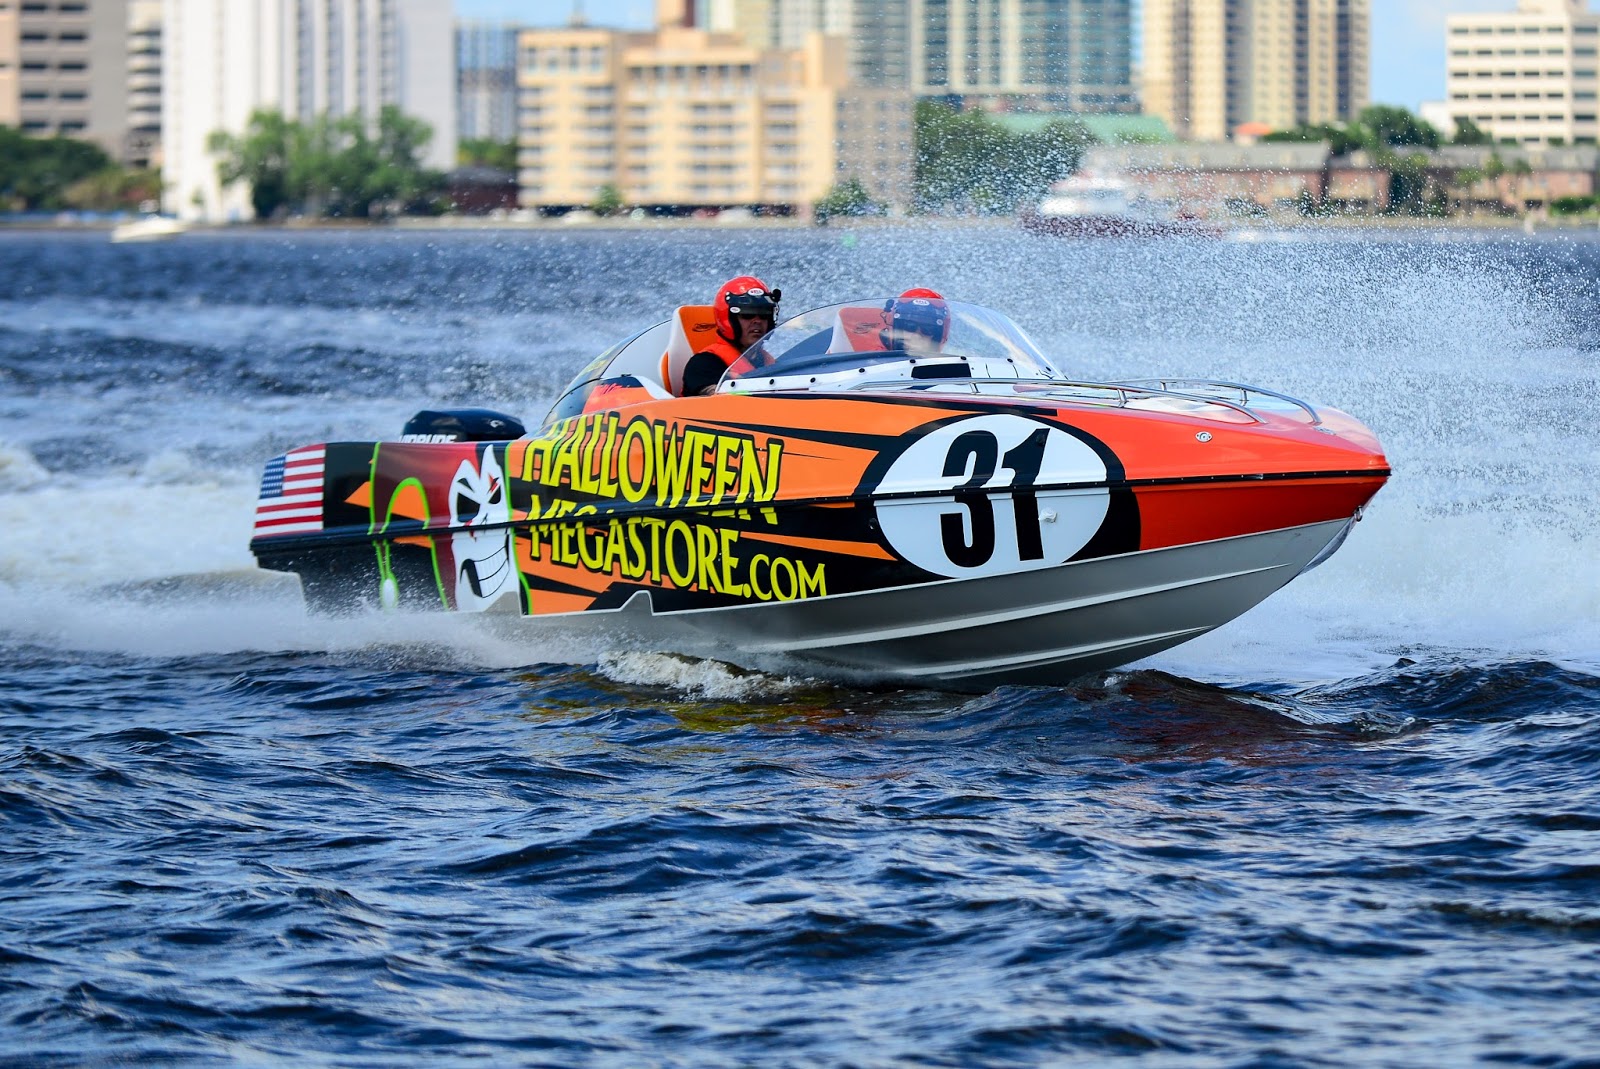
It was about 4 months of work.. That included lost time for Hurricane Matthew, Thanksgiving, and Christmas. But It is so nice to have a command console where everything works, nothing rattles, and it is water tight. There is a sense of pride when you conquer something you weren't sure you could actually do. The shakedown cruise when I took this photo was on New Years Day. What a great way to start the year!

Of course, like all stories, there is much that I left out of this one... Sure, there were setbacks and issues, but I do still believe it really was worth it.


Monday, October 10, 2016

Hurricane Matthew

There comes a time when an item becomes more than a thing. We've all done it... For me it's my boat.

As I watched Hurricane Matthew come up the coast, the cold hard reality that I could lose her hit me square in the face like a Flounder. After doubling all the lines, tying down the antenna, sealing up the gaping hole where my dashboard was / will be with plastic and about a whole roll of blue tape, I stood on the dock looking at her floating in the slip, with a terrible feeling of dread in the pit of my stomach, like it was the last time I would ever see her.

We'd had a Nor'easter before the hurricane and the water level was already higher than normal. A couple friends stayed at the marina and watched over the boats - truly brave souls, indeed. To whom I will always be in awe of.

So Saturday morning, as soon as I had some coffee on board, I flew out the door. What greeted me on the dock nearly brought me to tears:


She was just as I left her. A whole lot dirtier, but all there and not a scratch.  I went into the cabin and checked the forward bilge and saw this:


Bone Dry...

And then I  flipped on the automatic bilge pump.... not a drop came out. I have to admit, a small part of me was pretty proud of my girl.

Now the dock box on the other had... well, that was a mess inside.

That black line isn't supposed to be there and wasn't when I left the last time.

I didn't lose a lot of expensive things, but having to completely empty it and wash it out (oh, did I mention there was no water at the marina? Yeah, the water pump fried itself Saturday morning). So a bottle of Spray Nine, some water from the boat, a mop, and a chamois, I got it done. It's really neat and clean now!

At the end of the weekend, I came home, plopped down on the couch, sighed, and realized just how lucky I truly was and I how couldn't have imagined my life without her.

I guess Poseidon was watching over her for me!

Jim

Friday, September 30, 2016

The Ultimate Compliment


This morning I may have received what is the the ultimate compliment on my boat. There is a group I follow on Facebook called "Chris Craft Boats". Every month they choose a photo of a different Chris Craft to be the cover page for the month.

So this morning, I woke up to this on Facebook:


This is especially auspicious since this month was the 5th anniversary of buying The Hard Six. She was birthday gift to myself.

This photo was taken on July 4th this year; floating in the river, about 90 minutes before grilling burgers and watching the fireworks. 

Over the years, I have had people tell me I was crazy for spending the money, time, and sweat equity, on a 30 year old boat. Yes, boats are expensive. Yes, boats are a lot of hard work. Yes, they can drive you crazy at times. But the memories and experiences that they provide are priceless.

Jim


Saturday, March 12, 2016

Cabin Trim

When Chris Craft built the boat they created trim panels that ran the leangth of the cabin liner to cover where the top cap and hull were mated and attached. Being the 80's they used a pretty horrible laminate material over some sort of fiberboard. It had not aged well over the years:


Since I truly enjoy varnish work, I decided to change these out to real teak. So I called my good friends at World Panel Products and a couple days later a giant box was on my front doorstep.


It was pretty easy to overlay the old panels to cut the new ones. Making like for like.


Never underestimate the worth of a cheap power too from Harbor Freight!


After 1 coat of varnish


Here are the results, 7 (I think) coats of Flagship Varnish later:


 I'll try to remember to add photos of the cabin with these installed. For some reason, I never took any! Go figure. But I can tell you, it made way more of a difference than I ever expected it would!

Tuesday, September 1, 2015

It Is Done

Honestly, it was a job I was dreading. Turned out to only take about 45 minutes, and there were no toxic waste incidents to report. Replacing the entire unit may have been one of the smartest decisions I have ever made! Oh here's a tip.... These come in two sizes. Compact (which are apparently for children), and standard.... go standard, your butt can thank me later.


Four screws and a couple hose clamps and the whole panel came right out, MSD and all. Took the thing to the dock, unbolted the old MSD, and bolted the new one in it's place with the exact same bolt pattern. Thank you Jabsco for not changing it!


While I had the space open, I added a shower sump box to the boat. I don't know if she never had one, or if someone removed it, but under that drain you see was - nothing. not even an old hose. it went directly into the bilge. Now I can actually shower on board, which for a guy who is 6'4" tall, is still a challenge!


Friday, August 21, 2015

New MSD

So I ordered a new MSD (head) for the boat... It came via FedEx... I have this odd urge to open the box and sit on it - just to see.

Thursday, June 11, 2015

P1 Powerboat Racing

The Hard Six has been off having adventures lately, that would be why the blog has been slient.

Last weekend it was volunteering as a safety boat at the P1 Powerboat races here in Jax. I had one of the referees on boat and a Manatee observer. We spent the whole day on the water and it was really cool to watch a race from the inside of the course!

Photos:


Sunday, November 16, 2014

"Catalina" Badges

So the hull badges had bothered me for a long time. I tried updating them on the fly when I had the fiberglass work done on the boat and botched it pretty badly. The stickers were faded and peeling a bit in some places. 


So I decided it was time to refurbish them... 


Step one - tape off and peel off the old stickers... the taping was easy, some of the stickers were still really on there, even after almost 30 years.


Step two - paint base coat - 2 coats.


Step three - paint in silver portions, 2 coats - did this by hand with a small brush. TIP: Don't have a bunch of coffee before doing this, and don't even think about trying to do this in the water!


Step four and five - Add new stickers (found them on eBay, believe it or not) and add three coats of Acrylic sealer with UV protection. 


Final product - I'm pretty happy!


I used Krylon paint for plastic for this job and it stuck well - all I did was scuff it just a bit with a Scotch-Brite pad.